
Raspberry Pi is a low-cost and compact single-board computer as small as size of your palm. Though not powerful enough to perform complex jobs, it is still capable of serving purposes of academic study, hobbyist interest, and very light-weight multi-purpose server.
Previously, we just finished installing ownCloud 10 on Raspberry Pi 3.0. Today, we will continue installing Nextcloud 15. In a sense, Nextcloud is a successor of ownCloud and they are similar especially on installing and configuring aspect. If you are already familiar with installing ownCloud in our previous article, then this one is a piece of cake for you. All you need to do is making minor changes.
#1. On Raspbian’s terminal, type
sudo apt update
sudo apt upgrade

to make sure everything is up to date on operating system itself:
#2. On Raspbian’s terminal, type
sudo apt install apache2 -y
to install Apache.

#3. On Raspbian’s terminal, type
wget -q https://packages.sury.org/php/apt.gpg -O- | sudo apt-key add -
echo "deb https://packages.sury.org/php/ stretch main" | sudo tee /etc/apt/sources.list.d/php.list
sudo apt-get update
to update sources list.

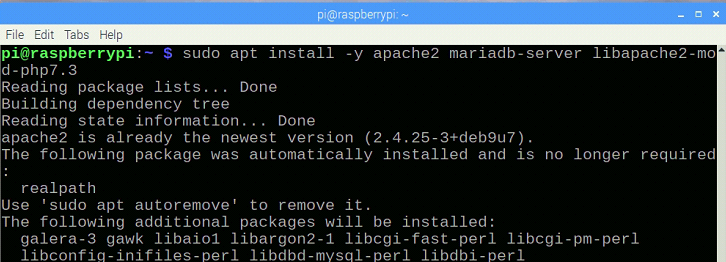
#4. Nextcloud is already compatible with PHP 7.3 while ownCloud, at time of writing, is not yet compatible with PHP 7.3. On raspbian’s terminal, type the next 4 lines of commands to install additiaonl packages:
sudo apt install -y apache2 mariadb-server libapache2-mod-php7.3
sudo apt install -y php7.3-gd php7.3-json php7.3-mysql php7.3-curl
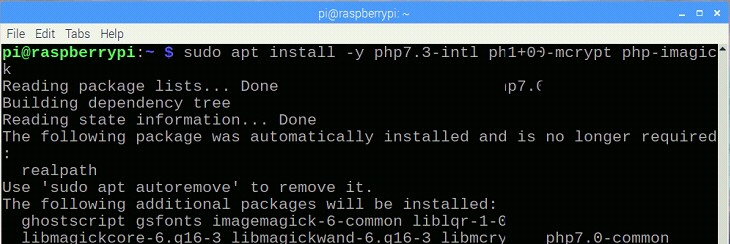
sudo apt install -y php7.3-intl php7.0-mcrypt php-imagick
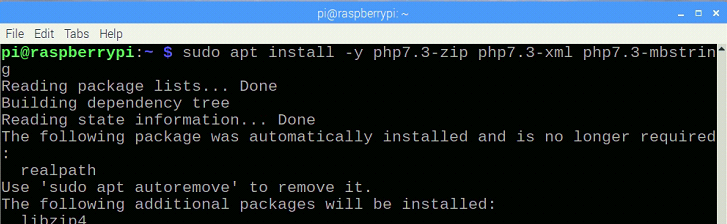
sudo apt install -y php7.3-zip php7.3-xml php7.3-mbstring
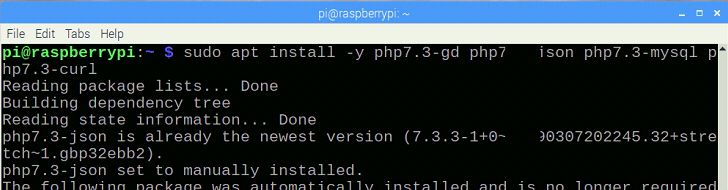
Install package 2/4
#5. On Raspbian terminal, download Nextcloud 15.0.5 in a temp folder and extract it in the temp folder.
cd /tmp
wget https://download.nextcloud.org/server/release/nextcloud-15.0.5.tar.bz2

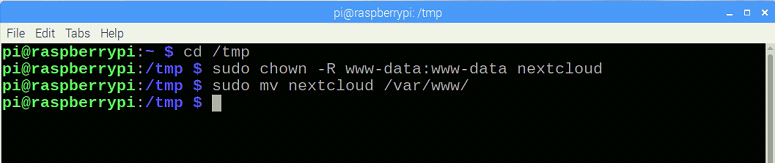
#5. On Raspbian terminal, change owner and group to which the extracted Nextcloud folder belongs. Then, move Nextcloud folder to /var/www/.
cd /tmp
sudo chown -R www-data:www-data nextcloud
sudo mv nextcloud /var/www/
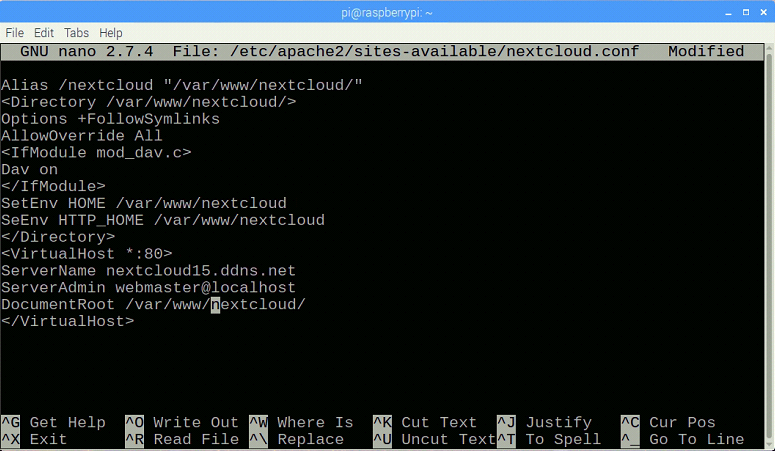
#6. On Raspbian terminal, create a configuration file, nextcloud.conf in /etc/apache2/sites-available/ folder
sudo nano /etc/apache2/sites-available/nextcloud.conf

The following example of conf file contains basic website configuration and vhost information:
Alias /nextcloud "/var/www/nextcloud/"
<Directory /var/www/nextcloud/>
Options +FollowSymlinks
AllowOverride All
<IfModule mod_dav.c>
Dav on
</IfModule>
SetEnv HOME /var/www/nextcloud
SetEnv HTTP_HOME /var/www/nextcloud
</Directory>
<VirtualHost *:80>
ServerName nextcloud15.ddns.net
ServerAdmin webmaster@localhost
DocumentRoot /var/www/nextcloud/
</VirtualHost>
#7. If 000-default.conf exists in /etc/apache2/sites-available and /etc/apache2/sites-enabled, then use mv command to move them somewhere for backup.
sudo mv 000-default.conf /home/pi/Desktop
sudo mv 000-default.conf /home/pi/Desktop
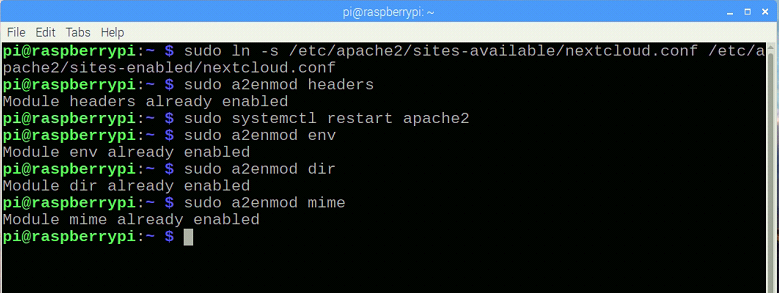
#8. On Raspbian terminal, create symbolic link from /etc/apache2/sites-available/nextcloud.conf to /etc/apache2/sites-enabled/nextcloud.conf.
sudo ln -s /etc/apache2/sites-available/nextcloud.conf /etc/apache2/sites-enabled/nextcloud.conf
sudo a2enmod headers
sudo systemctl restart apache2
sudo a2enmod env
sudo a2enmod dir
sudo a2enmod mime
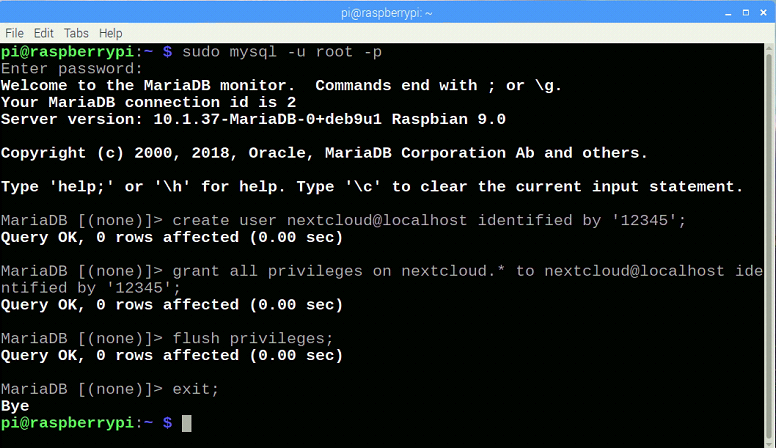
#9. On Raspbian terminal, create Nextcloud database in MySQL following commands below:
sudo mysql -u root -p
Enter password. Use user Pi‘s password that was set when installing Raspbian at the beginning.
create user nextcloud@localhost identified by '12345';
grant all privileges on nextcloud.* to nextcloud@localhost identified by '12345';
flush privileges;
exit;
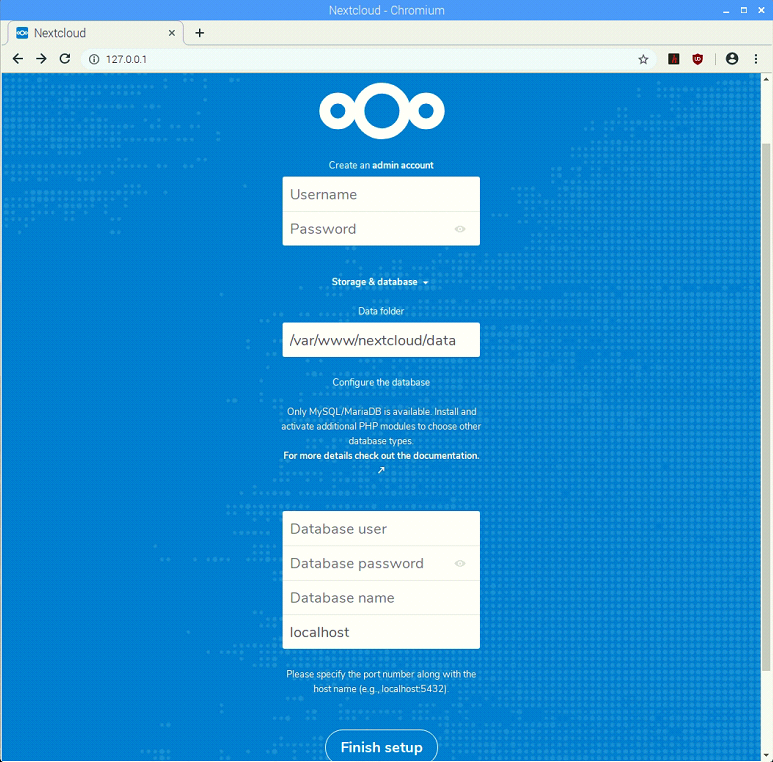
#10. Open a web browser and try opening Nextcloud’s login screen by typing http://127.0.0.1. Create a username and a password for administrator. Keep Data folder intact. For database:
Username: nextcloud
Password: 12345
Database: nextcloud
Server: localhost
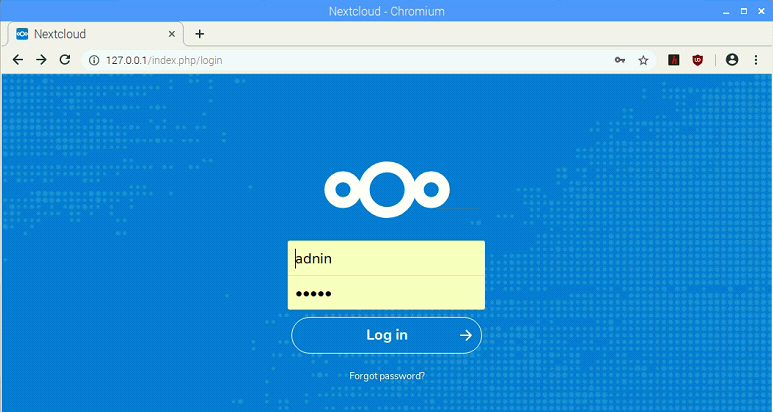
#11. Then, we will log in as administrator for the first time.
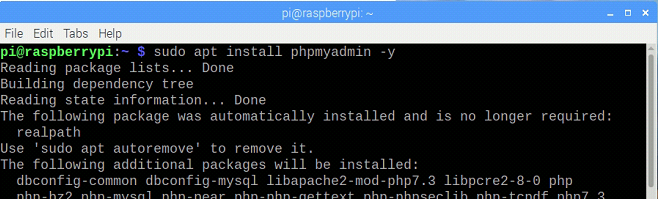
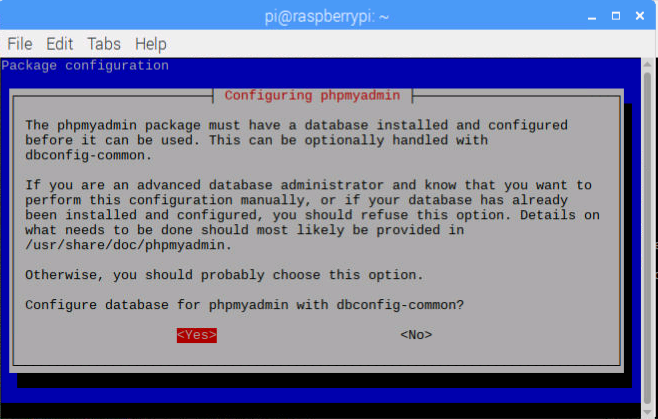
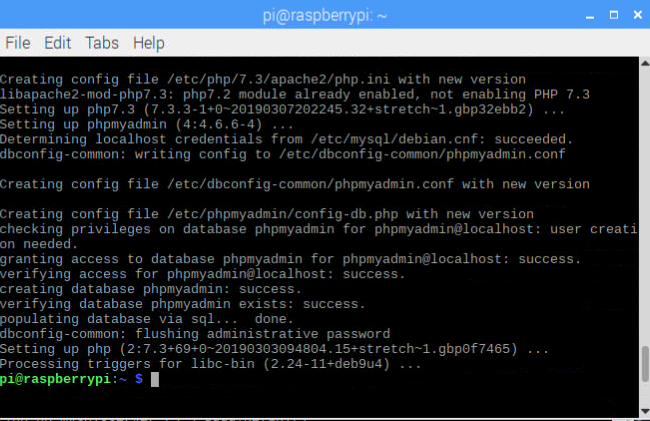
#12. On Raspbian terminal, we will install and configure phpmyadmin for Nextcloud database.
sudo apt install phpmyadmin -y
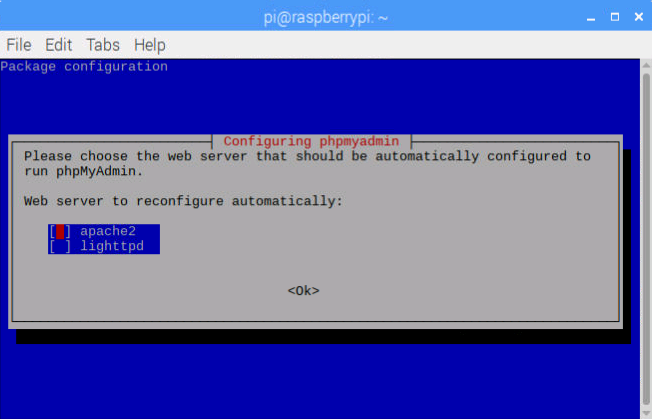
Select apache2
Yes for "Configure database for phpmyadmin with dbconfig-common?"
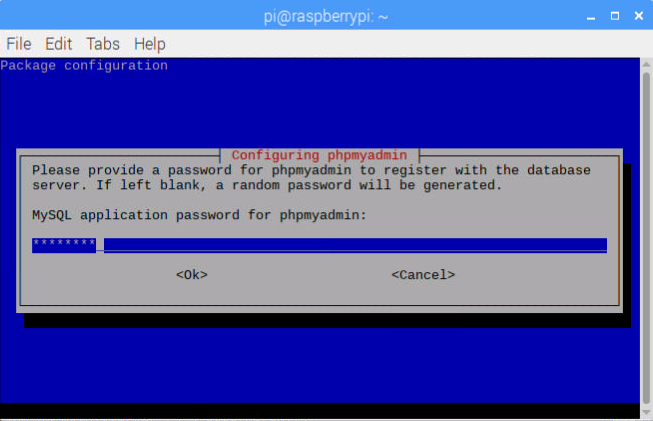
Enter MySQL application password for phpmyadmin
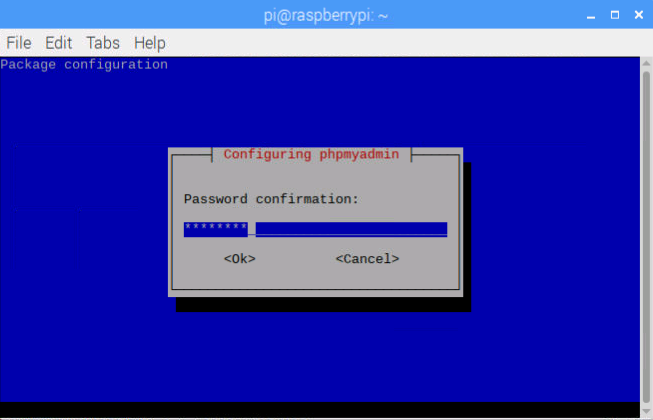
Confirm password
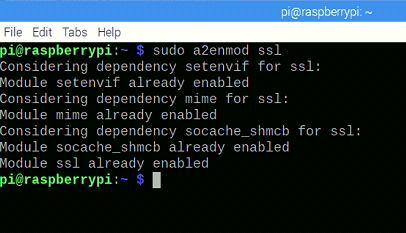
#13. Before configuring SSL for Apache, make sure to enable a2enmod_ssl.
sudo a2enmod ssl
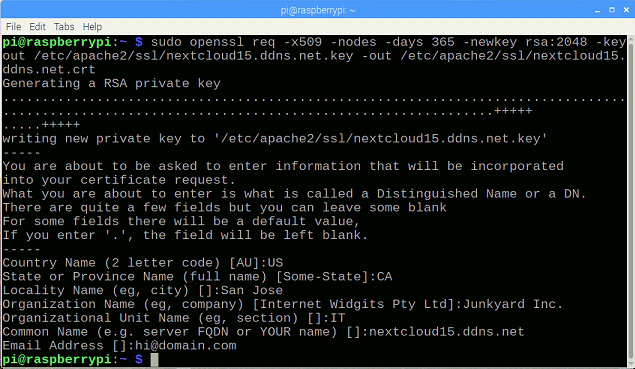
#14. Use OpenSSL command to create SSL certificate and key in a pre-created folder /etc/apache2/ssl.
sudo openssl req -x509 -nodes -days 365 -newkey rsa:2048 -keyout /etc/apache2/ssl/nextcloud15.ddns.net.key -out /etc/apache2/ssl/nextcloud15.ddns.net.crt
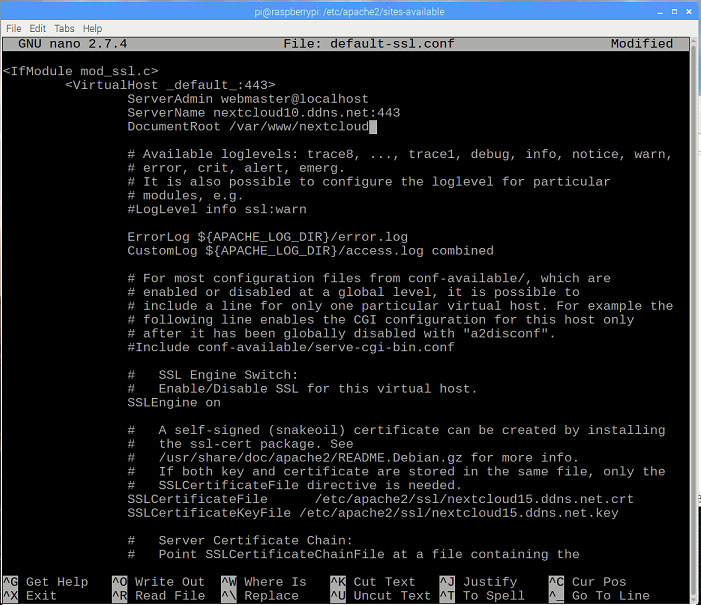
#15. Open etc/apache2/sites-available/default-ssl.conf and make some changes:
ServerAdmin webmaster@localhost
ServerName nextcloud15.ddns.net:443    <-- enter server host name
DocumentRoot /var/www/nextcloud    <-- swap html with Nextcloud
.
.
SSLEngine on     <-- change from off to on
.
.
SSLCertificatefile      /etc/apache2/ssl/nextcloud15.ddns.net.crt
SSLCertificateKeyFile   /etc/apache2/ssl/nextcloud15.ddns.net.key
                        (path to store SSL certificate and key file)
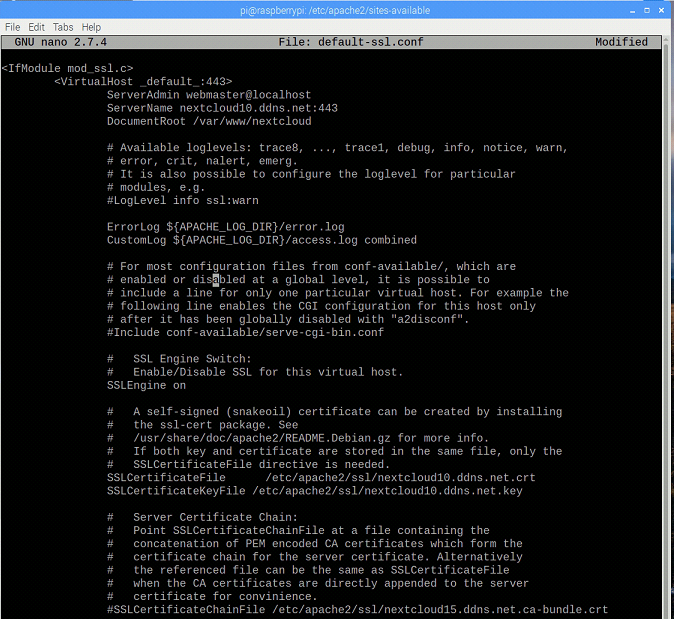
Note: In case of the need for a real CA-signed certificate, get it from such certificate vendor, such as Ksoftware. Or, there is some free SSL certificate website like LetsEncrypt. One more line has to be edited for adding ca-bundle certificate:
SSLCertificateChainFile /etc/apache2/ssl/nextcloud15.ddns.net.ca-bundle.crt
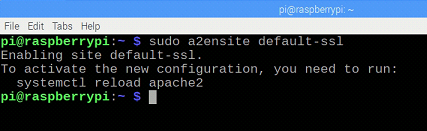
#16. Before enabling SSL for Apache, make sure to enable a2ensite_ssl on Raspbian terminal.
sudo a2ensite default-ssl
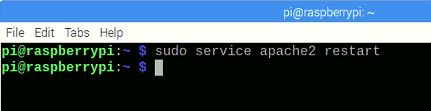
#17. On Raspbian terminal, enter the following command to restart Apache service.
sudo service apache2 restart
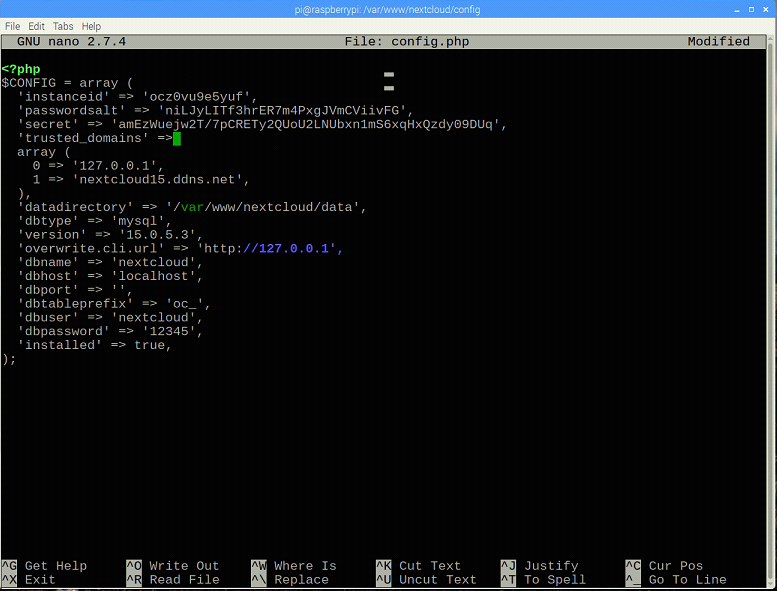
#18. In order to access Nextcloud server from outside of local network, add the server’s host name and/or its public IP to trusted domain within Nextcloud’s config.php.
0 => '127.0.0.1',
1 => 'nextcloud15.ddns.net',
#19. One last stop, in case server is running behind a router, make sure to add port 80 and 443 in Port Forwarding assignment list pointing to Nextcloud server host’s LAN IP.
This article looks like a long one, but the whole process of Nextcloud server installation actually takes less than an hour. After the server is built, we can use lots of service features, such as mail, address book, calendar, task and others. Our next chapter will be configuring mail server, CalDAV and CardDAV servers for your reference.
When NextCloud server is installed and configured, we can synchronize contacts, calendar and tasks on various CalDAV/CardDAV client software/devices. Nevertheless, another essential part of a complete collaboration platform is still missing: mail service. If you use nothing but Linux, hmail server fulfills your need for free. Well, you need to know how to fool around with Linux first. If Windows is a closer friend of yours, then my suggestion is EVO Mail Server. Only three major steps are all you need to do: add A and MX recoreds on DNS hosting service, enter domain name and creat mail accounts in EVO Mail Server’s UI. Yet, there are more options to be configured: DKIM, DMARC,SSL certificate, antispam filters, white/black list and more. Here is a know-how on installing and configuring EVO Mail Server.