
Raspberry Pi is a low-cost and compact single-board computer as small as size of your palm. Though not powerful enough to perform complex jobs, it is still capable of serving purposes of academic study, hobbyist interest, and very light-weight multi-purpose server.
Today, we will demonstrate on how to install Raspbian on Raspberry Pi 3 and then install ownCloud 10 using NOOBs. At the end of this article, we can utilize various services offered in ownCloud’s Market, such as Mail, CalDAV and CardDAV servers. However, please note that this server is doing fine in a micro-size company of less than 10 colleagues; otherwise, the server loading will be too much.
Before installing Raspbian and ownCloud 10, please have the following items ready:
- Raspberry Pi with 2A USB Power Adapter
- Bluetooth mouse/keyboard
- Internet access
- SD card (64GB or 128GB)
- SD card reader
- Windows PC
- FAT32 Format for Windows
- WIN32 Disk Imager for Windows
#1. In Windows, download and install Win32 Disk Imager for Windows. Use this tool to back up content in SD card or simply backup all files using Copy & Paste.
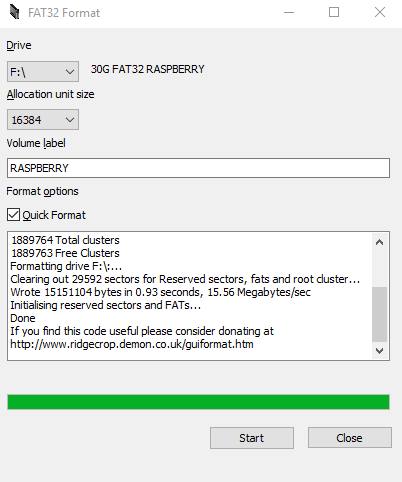
#2. Also, browse to http://www.ridgecrop.demon.co.uk/index.htm?guiformat.htm and download FAT32 Format for Windows. Use this tool to format SD card in FAT32 format. For SD card larger than 32GB, refer to formatting guide here.
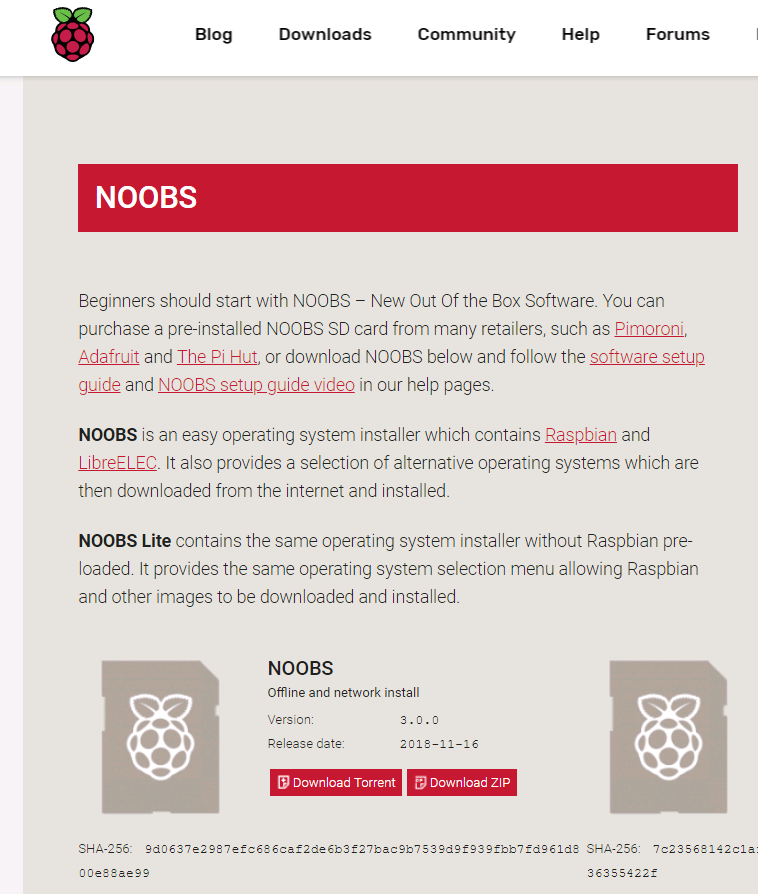
#3. Next, browse to Raspbian download page and download zip file version NOOBS offlince and network install. Extract the ZIP file to the SD card.
#4. Plug in the SD card to Raspberry Pi’s SD card slot.
#5. Power on Raspberry Pi.
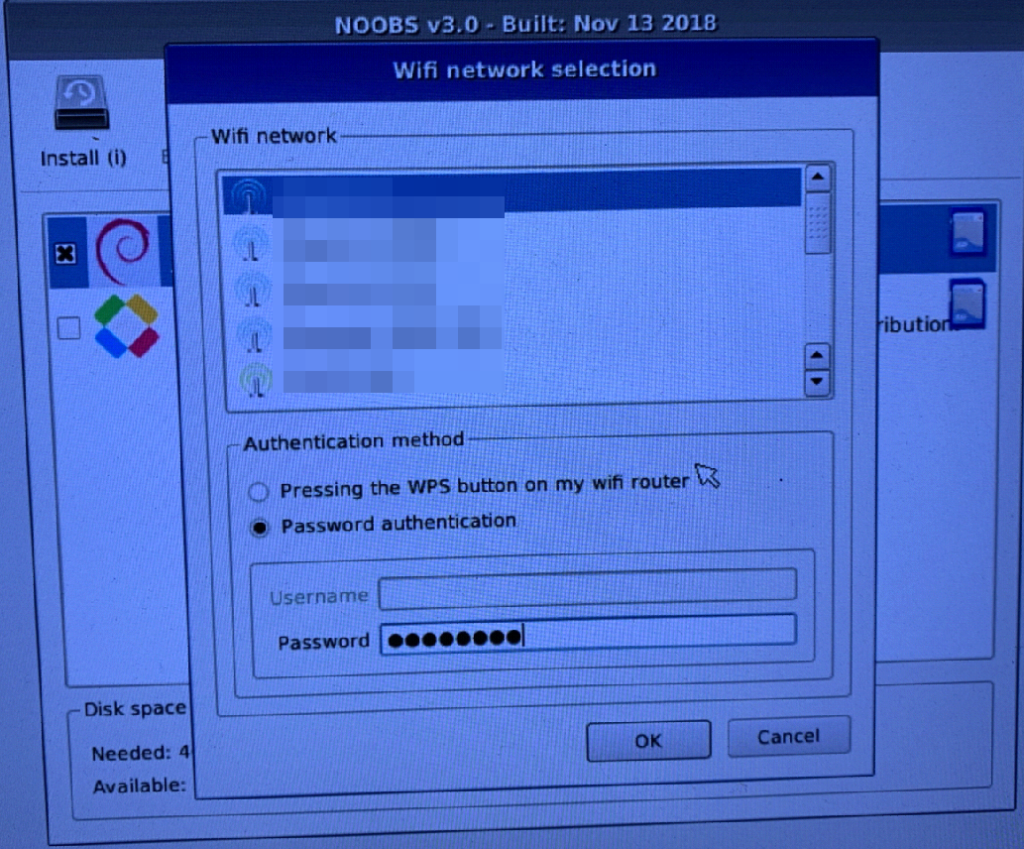
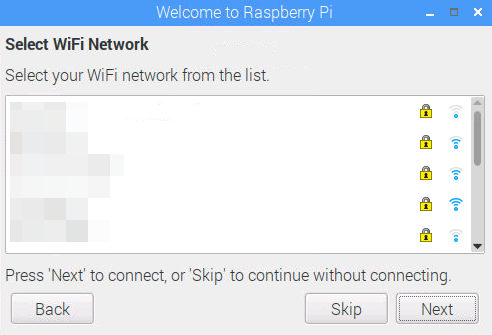
#6. In the install/config NOOBS menu, first click on Wifi networks tab and join your Wifi network.
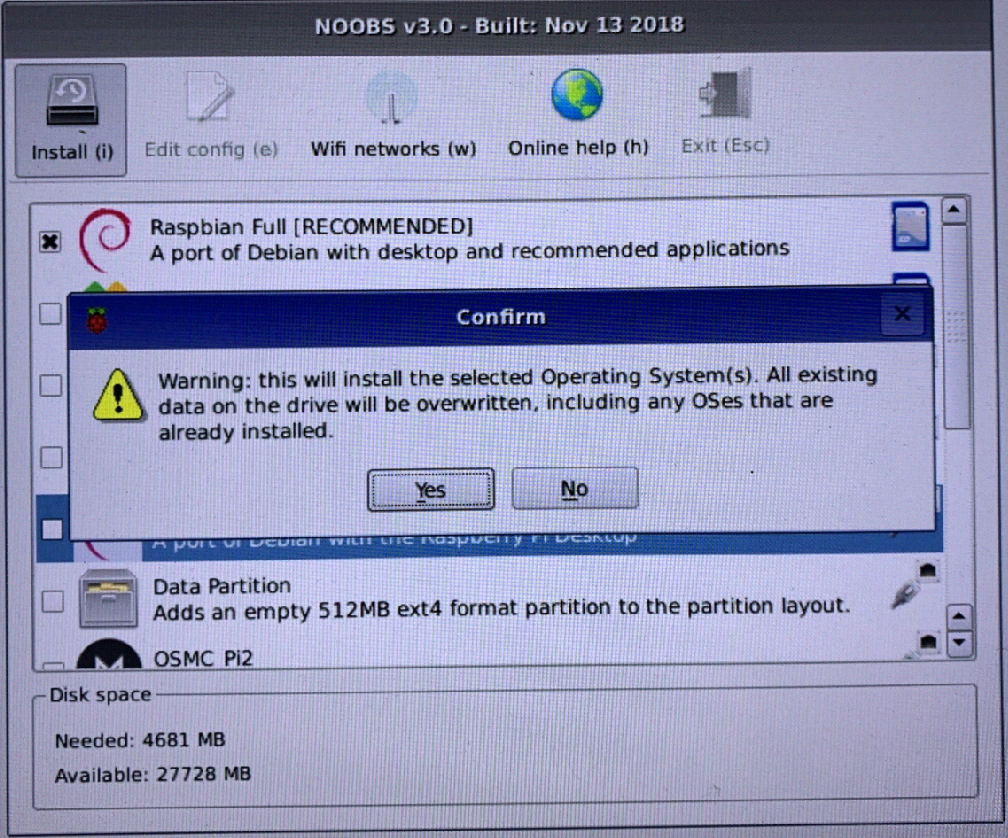
#7. In the software/OS list, click on Raspbian Full (RECOMMENDED) and click on Install tab to proceed installation.
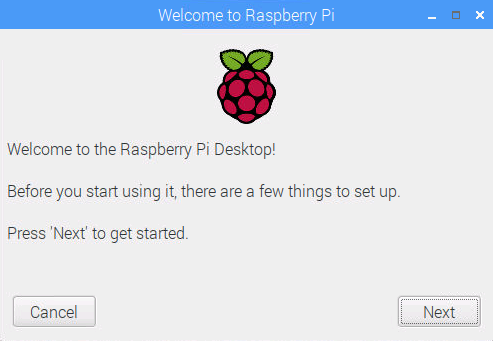
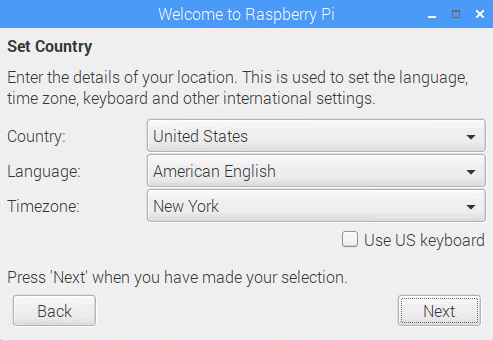
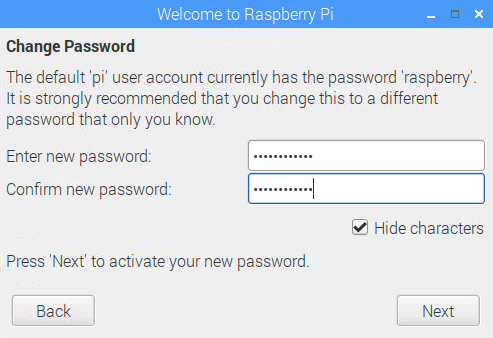
#8. Click on Next to continue setup, including country, language, timezone, and admin’s (pi) password. Wifi network has already been configured, so we can skip it.
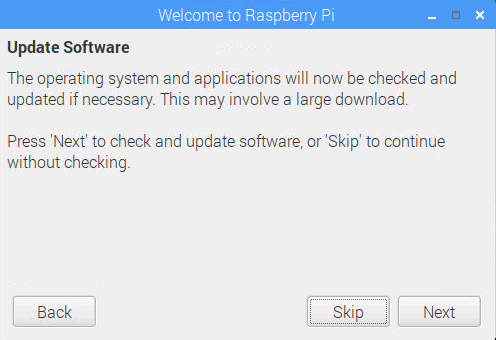
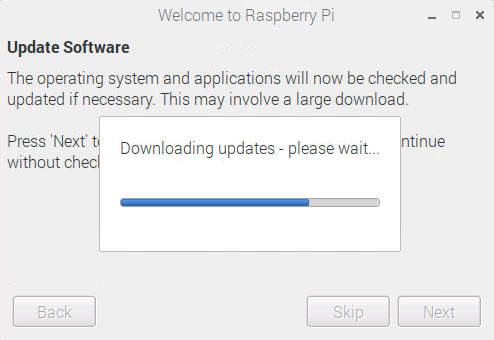
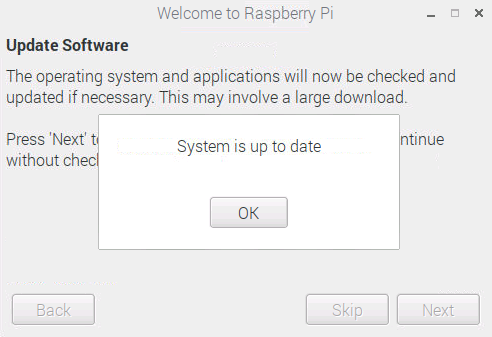
#9. Click on Next to update Raspbian.
#10. Once Setup is complete, it will auto reboot.
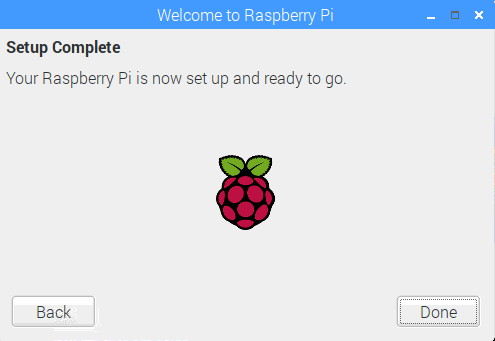
#11. After coming back from reboot, Raspbian installation is complete and ready to use.
Using NOOBS 3.0 is fairly easy to install Raspbian and it is fast. The only thing that slows down is software update. Next, we will install and configure ownCloud or configure NextCloud for CalDAV and CardDAV serveices in next article.