
Continued from our last article on How to install and configure ownCloud 10 on Raspberry Pi?
The sole purpose we install ownCloud Server is for its CalDAV and CardDAV services. So, today, we will be talking about how to install/configure these services.
We can do this on a remote computer instead of on the server host. Let’s open a web browser and key in https://owncloud10.ddns.net. This URL is an example I use for demo. Then, log in as admin.
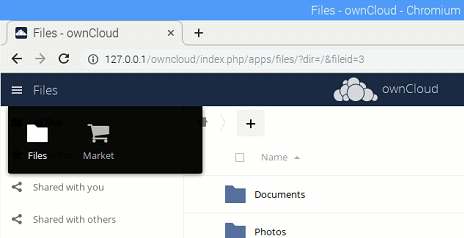
Once we log in, click on Files at top-left. we will see a icons of Files and Market. Click on Market.
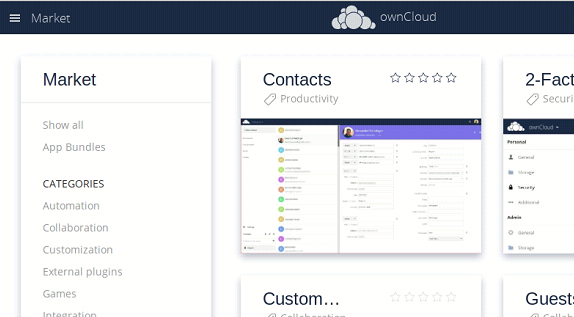
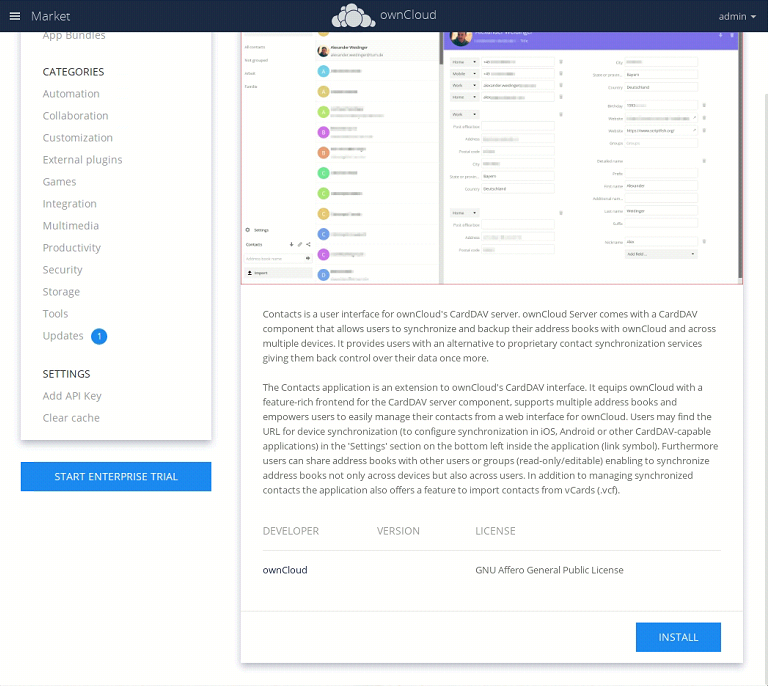
In the Market, we will see Contacts app right away and click on it. Then, scroll to bottom and click on Install button to install it.
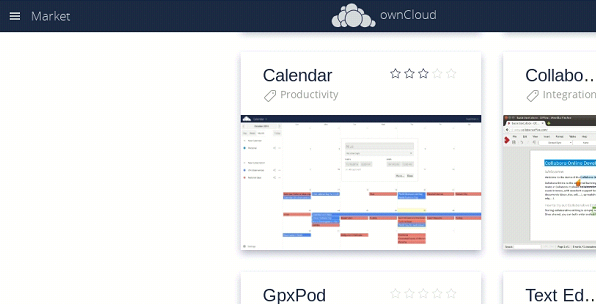
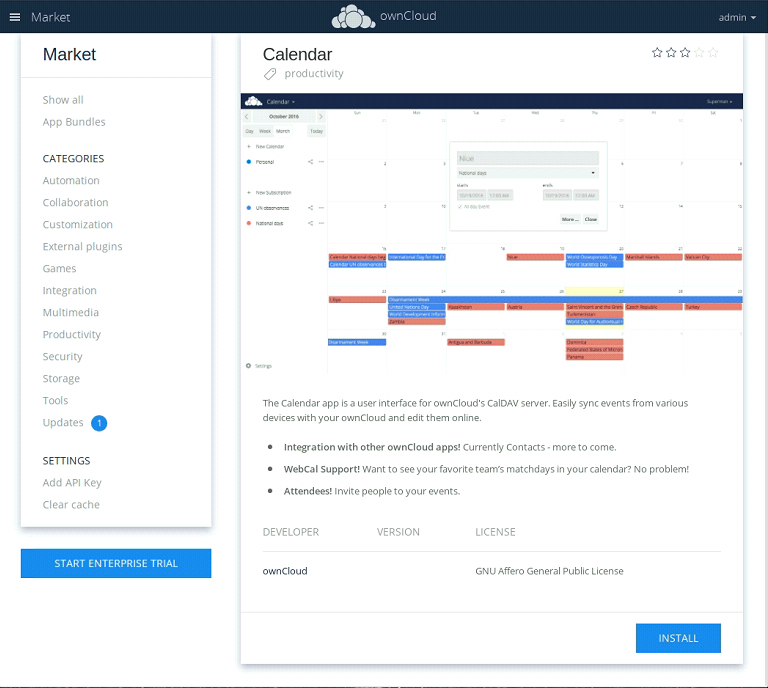
After we install Contacts service, keep scrolling down till we see Calendar app. Click on it. Then, scroll to bottom and click on Install button to install it.
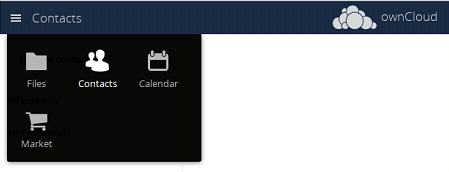
Once both apps are installed, we will see two more icons displayed on top-right menu.
After these two apps are installed, services are ready and we will proceed to the next article on configuring profiles on various client software/device so we can synchronize contacts, calendar and tasks with ownCloud server.