Mail storage for mail server
E-mail messages on mail servers can be stored either in database or as .eml files. There are advantages and disadvantages one way or the other:
- Database: Storing mails in database provides fast mail retrieval through indexing scheme. However, deploying database takes efforts to maintain and comes with high TCO for hiring engineer and purchasing hardware/software equipment.
- EML-file: Storing mails in .eml files is easier to implement. In order to compensate for slow performance of conventional hard disk, we deploy SSD (Solid State Disk) to achieve fast access to small .eml files swiftly.
Backup email from server
Backing up e-mail messages on a mail server is an endless year-round task:
- For database-based mail server such as Microsoft Exchange Server, dedicated software, such as Backupassist, NovaSTOR, or Backup Exec, is available to back up mail store.
- For eml-file mail server, a combination of using Outlook’s PST file and Windows’s Backup and Restore would do the job.
Here is an example of backing up mails on EVO Mail Server using Outlook and Backup and Restore:
EVO Mail Server has two special account types called Backup Operator and Backup Auditor. We use them to access all incoming and outgoing e-mail messages across all accounts and all domains.
When we log in as Backup Operator or Backup Auditor, we will see mails sorted by date only or by domain/department/user/date. Then, we can follow steps below to perform backup task:
Part 1. EVO Mail Server GUI Setting:
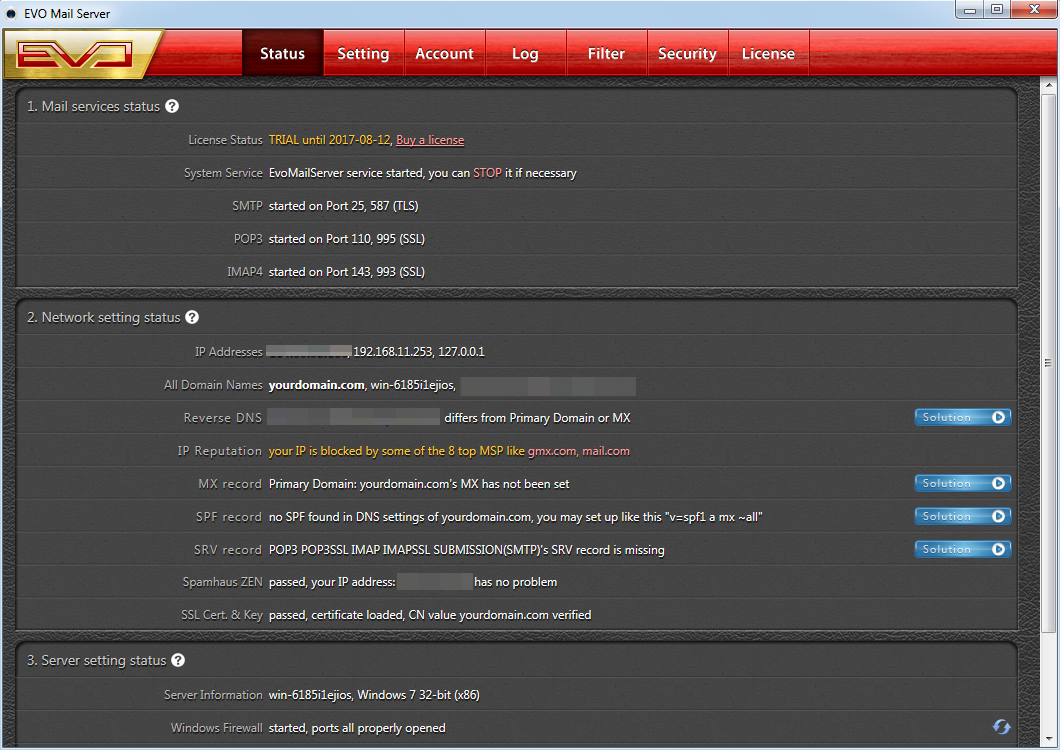
- Open EVO Mail Server’s GUI.

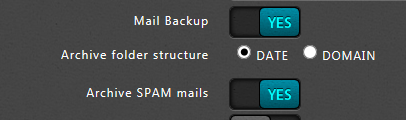
- Click on Setting tab and scroll down to Archive folder structure.
- Click on space next to it and select between DOMAIN or DATE. (In this tutorial, we use DATE)
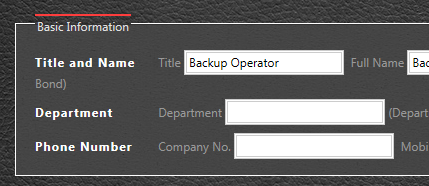
- Click on Account tab and click on New to create an account.
- Be sure to leave Department blank. If not left blank, then this mail backup operator will only see incoming and outgoing mails of mail accounts within the same department.
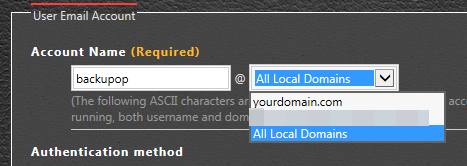
- Name it something like backupop and pick a password for it. In domain part space, the default will be All default domains and this selection will enable this mail backup operator to see incoming and outgoing mails across all domains. If a domain is specified here, then the operator will only see incoming and outgoing mails within that particular domain.
- Scroll down to Account Type and click on Mail Backup Operator.

- Scroll down and click on OK to save account creation and quit.
Part 2. Add Mail Operator Account in Outlook (In this tutorial, Outlook 2013 is used):
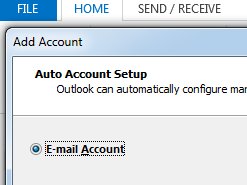
- Open Outlook.
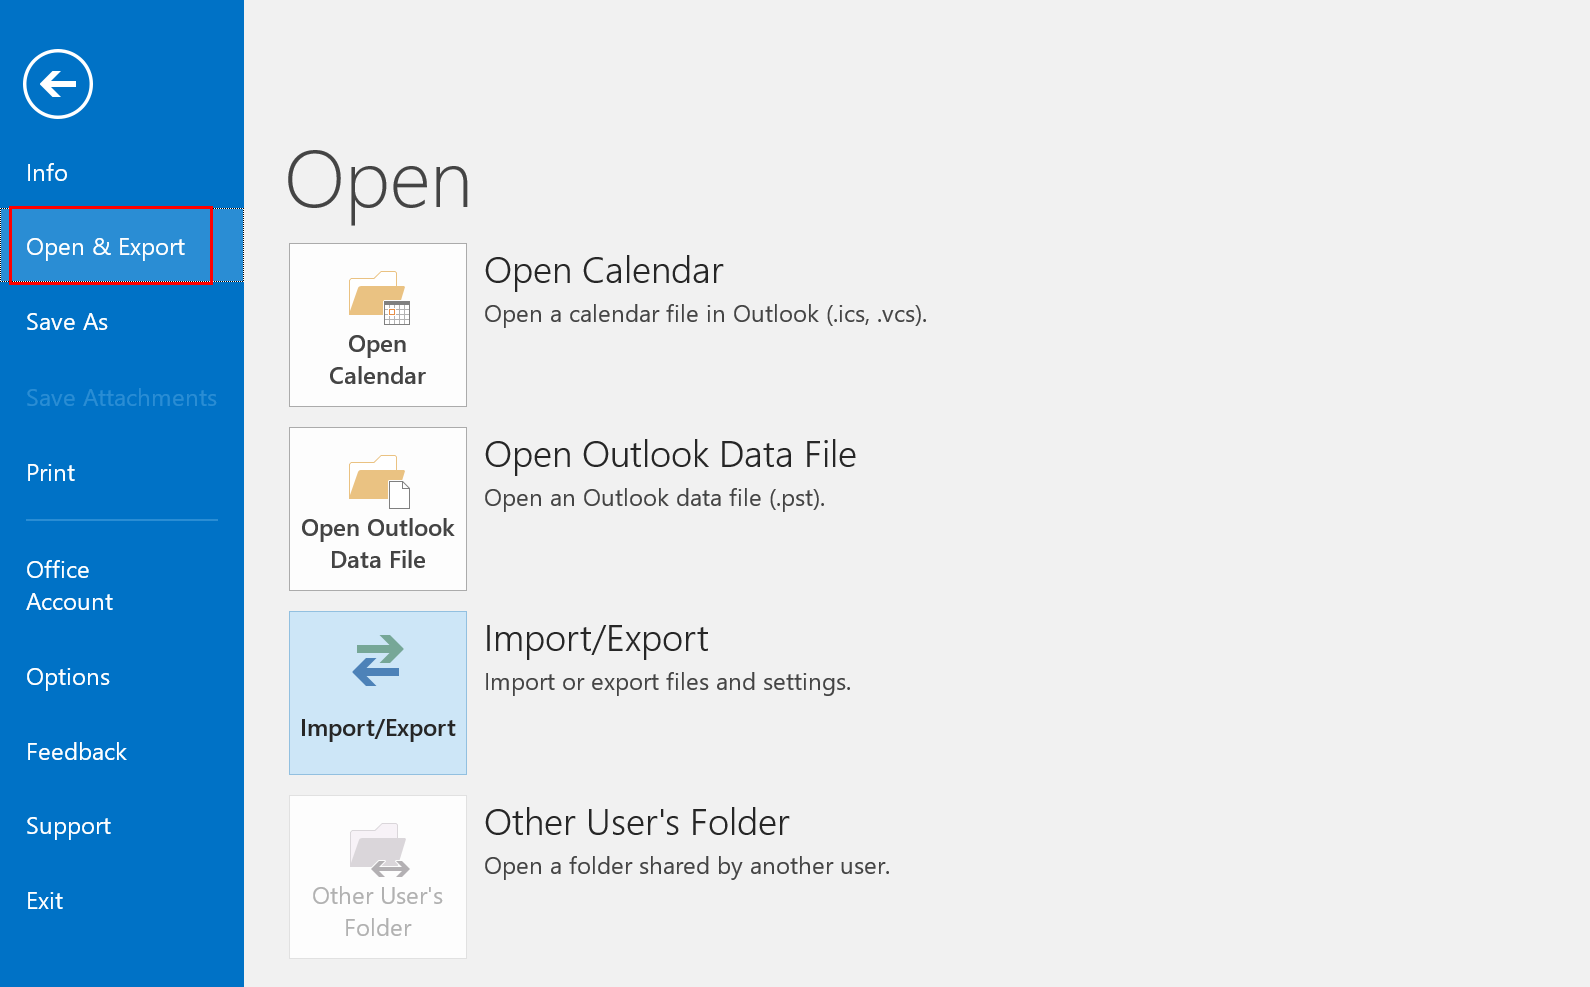
- Click on FILE at top-left and click on Add Account to add the Mail Backup Operator account that was created from previous section.
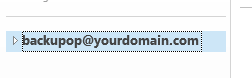
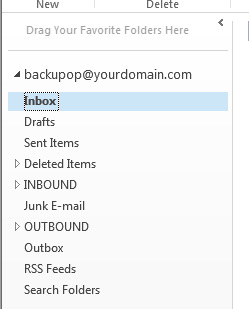
- Then, in Navigation Pane, you will see [email protected] folder.
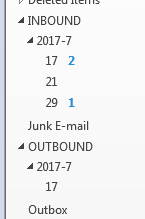
- Expand the folder tree and there will appear one INBOUND and one OUTBOUND sub-folder.
- Expand these two folders furthermore. There will be folders named by the format of YYYY-MM & DD. These by-year-month and by-day folders can be used mail backup later on.
Part 3. Backing Up Mails to PST (In this tutorial, Outlook 2013 is used):
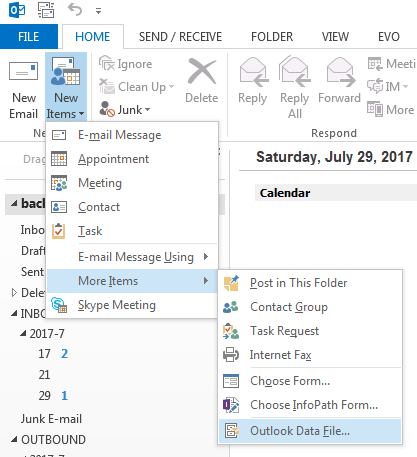
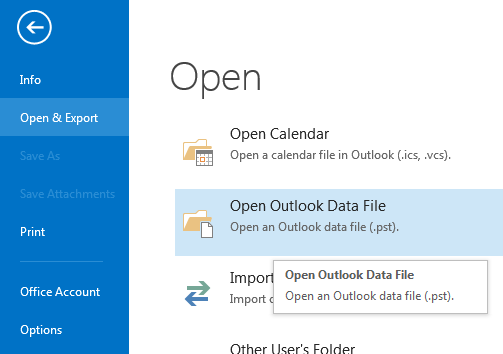
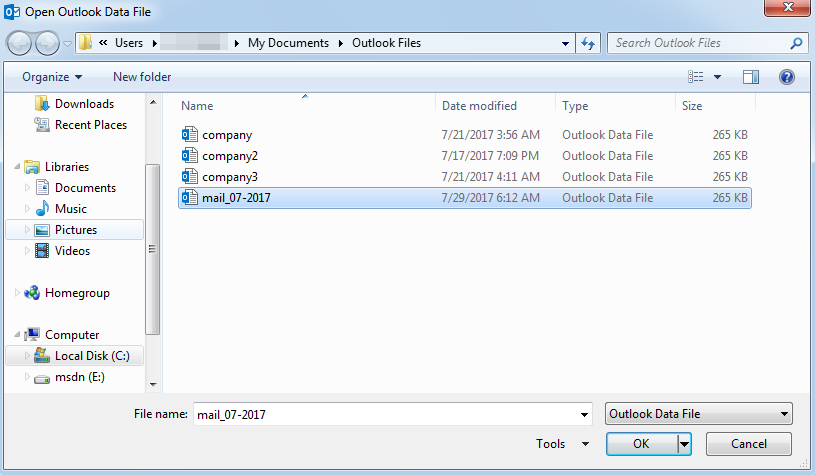
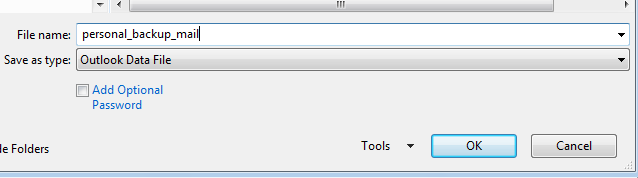
- In Outlook, click on New Items à More Items à Outlook Data File… and browse to a folder location where we keep mail backup files.
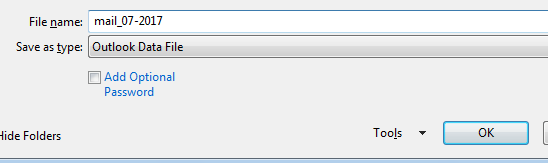
- Name the PST file, such as mail_mm-yyyy.pst. Example: mail_07-2017.pst. Then, click on OK.
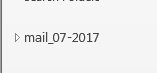
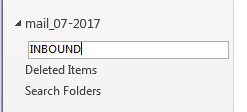
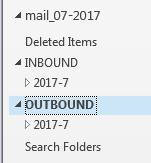
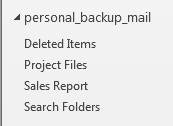
- In Navigation Pane, you will see a new root folder item called mail_07-2017.
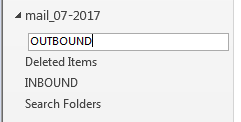
- Under this newly opened PST folder, create one INBOUND folder and one OUTBOUND folder respectively.

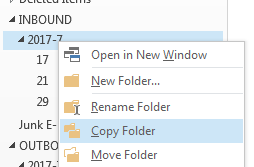
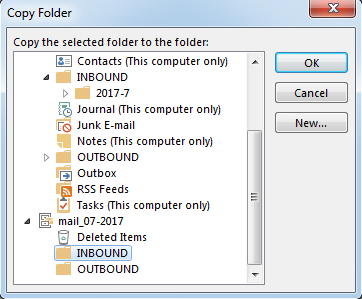
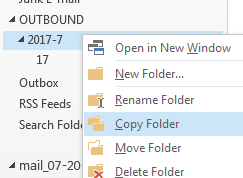
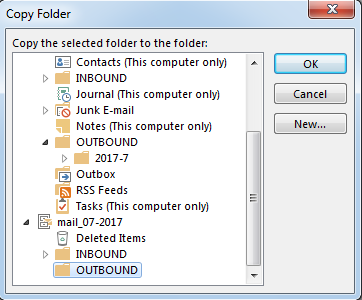
 When it is time to perform a mail backup by end of a week, month, quarter or etc…, browse INBOUND and OUTBOUND folders from Part 2. Then, Copy & Paste folders of YYYY-MM, such as 2017-07, to corresponding folders of INBOUND and OUTBOUND under the mail_mm-yyyy.pst folder.
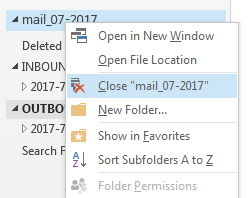
 - Lastly, right-click on mail_07-2017 folder and select Close “mail_07-2017” to close the PST file.
- INBOUND
- OUTBOUND
- CREATED BACKUP FOLDERS
- INBOUND
- Once mails have been copied over, this mail_07-2017 folder can be closed and archived.
Part 4. Archived mail retrieval:
- When colleagues are requesting for mails in archive, remind him or her to provide year, month, day and mail’s subject for faster mail retrieval.
- Find matching dated PST file from mail archive location and open the corresponding PST file under Outlook.
- In the PST folder, browse to matching year, month, day and user’s mail account.
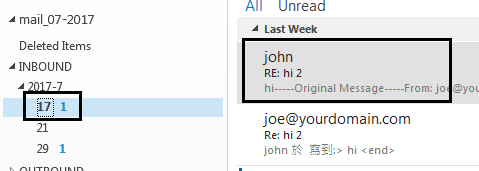
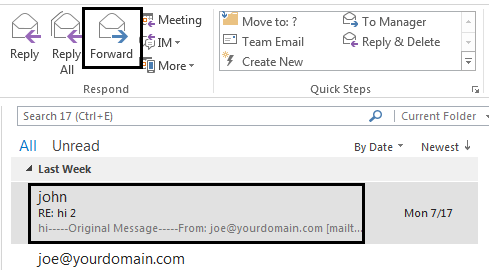
- When it is found, simply forward the mail or send them as attachment to the colleague.
Part 5. Compact mail UID for mail accounts:
- As soon as outdated mails are backed up, delete them from mail server:
- Go to <EVO’s Data Folder>\HOSTS\DEFAULT\ARCHIVE\INBOUND\
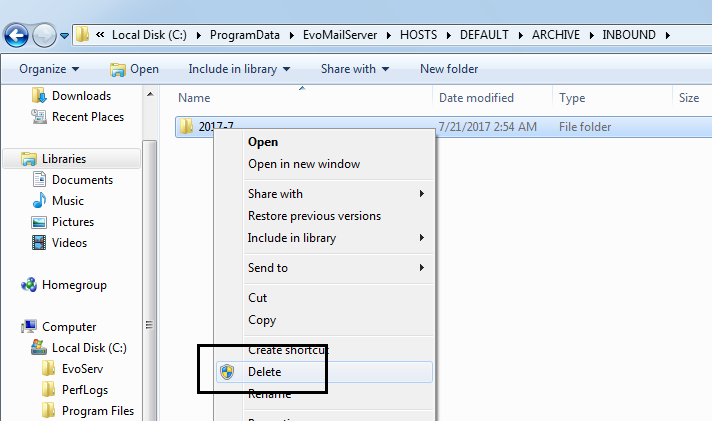 and <EVO’s Data Folder>\HOSTS\DEFAULT\ARCHIVE\OUTBOUND\
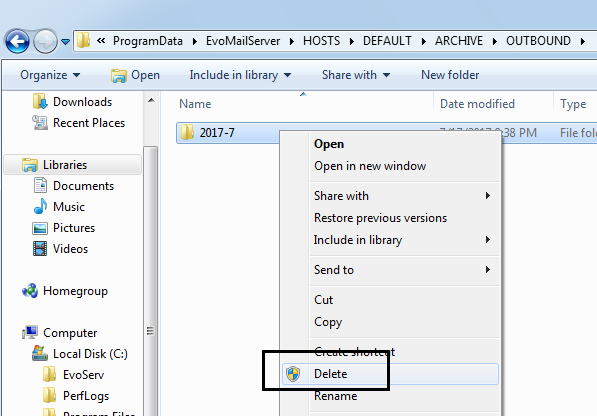
- Delete corresponding months that have already been archived.
- Check back with Mail Backup Operator’s mail folder, deleted mails should be gone by now.
- Go to <EVO’s Data Folder>\HOSTS\DEFAULT\ARCHIVE\INBOUND\
- Beside backing up old mail data and deleting it, the e-mails that actually exist in each user’s mailbox should also be archived and deleted to save hard disk space. EVO Mail Server has a small command line tool, called emlclean.zip. The syntax is shown below:
- emlclean.exe -movetest DAYS “source” “destination”
Test compressing all eml files within source folder and place it in destination folder. This compression and file movement will not take place. - emlclean.exe -move DAYS “source” “destination”
Compress all eml files within source folder and place it in destination folder. Running the parameter with “-move” will do the real compression and file movement. - emlclean.exe -backup_no_eml “source” “destination”
This command line will compress all non .eml files under source folder and move it to destination folder.
- emlclean.exe -movetest DAYS “source” “destination”
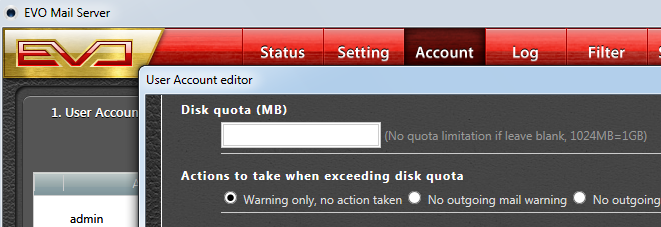
- Mail administrator should periodically compact mail accounts’ mailboxes by clicking on IMAP UID Optimization button within each mail account’s profile.

- Set disk quota accordingly within each mail account’s profile. For your information, EVO Mail Server will stop services when disk space is less than 500MB to prevent disk space outage damaging mail-related files.
- When disk quota is reached and the user comes to you, instruct them to:
- Create local PST file and sub-folders within.
- Move mails from mailbox to the local PST file.
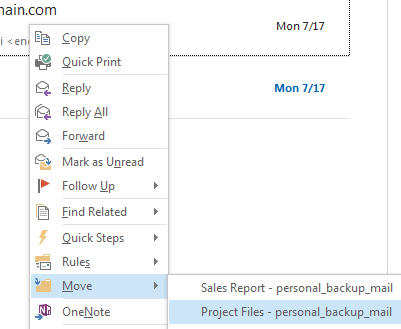
- Sort them into different sub-folders.
- Create local PST file and sub-folders within.
Part 6. Backing up a complete set of EVO Mail Server’s data files
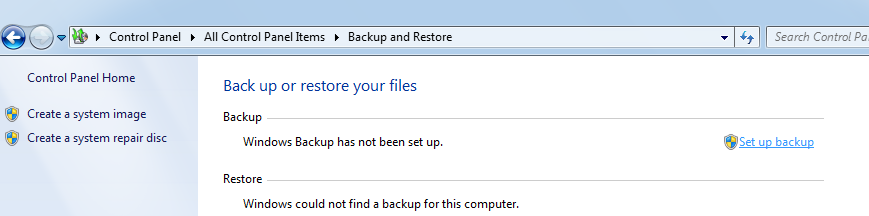
- Using Backup and Restore in Windows 10
- Go to Control Panel and open Backup and Restore.

- Click on Set up backup.
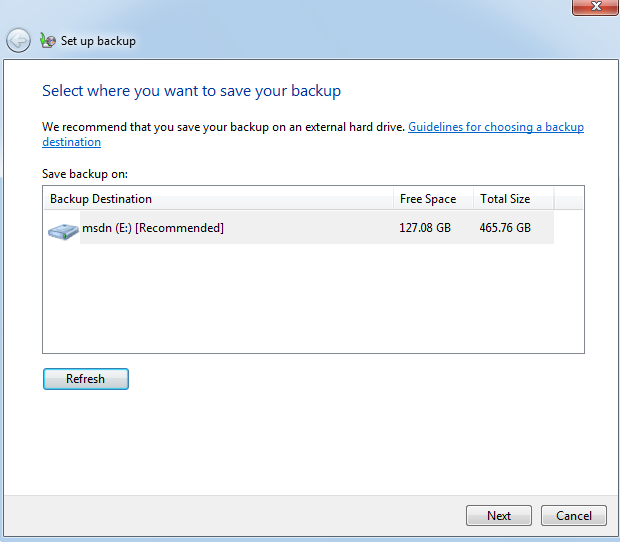
- Select Backup Destination and click on Next.
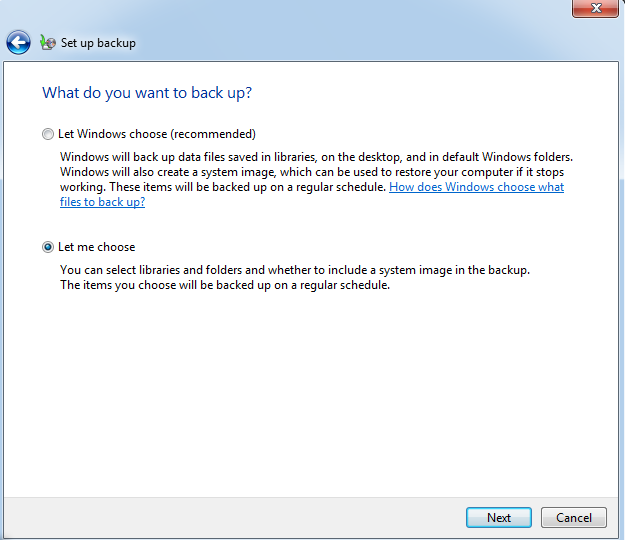
- Click on Let me choose radial and click on Next.
- Deselect all check marks under Data Files.
- Browse to C:\ProgramData\EvoMailServer and click on square next to it. If you relocated the data files to another disk drive, then also browse to that folder such as D:\Mail and click on square next to it. Also, include C:\EVOServ if Roundcube and ECM are also deployed.
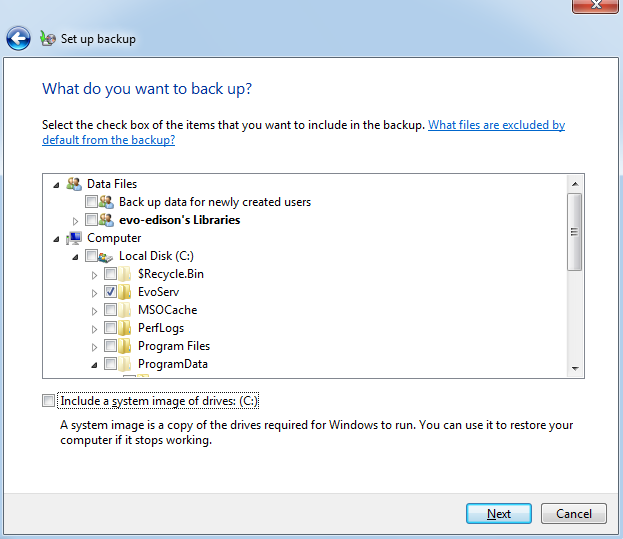
- Deselect the check mark next to Include a system image of drives… since we now focus on backing up mail server data.
- Click on Next to continue.
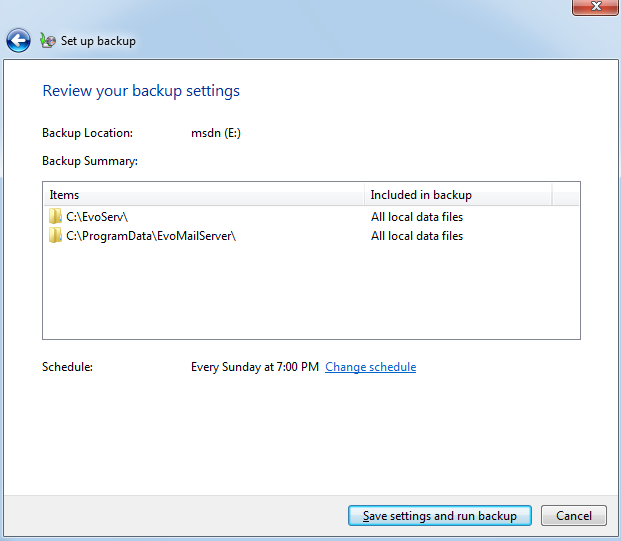
- Confirm Backup Summary and click on Save settings and run backup.
- Go to Control Panel and open Backup and Restore.
- Using WinRAR to simply archive all files into one .rar file
- Download WinRAR from its official website and install it.
- Create a batch file with the following lines and save it as backupmailserver.bat:@echo
@ready to backup EVO Mail Server files . . .
pause
c: // disk drive where you store EVO Mail Server files
cd c:\ProgramData\EvoMailServer // this folder must be created ahead of time
“c:\Program Files\WinRAR\winrar.exe” a –p(password) -av -r -ag+YYYY-MM-DD f:\mail_server_backup\-mail-server-backup.rar *.*
pause
If you relocated the data files to another disk drive, then include the following lines right after the second pause above:@echo
@ready to backup RE-DIRECTED EVO Mail Server files . . .
pause
d: // disk drive where you redirect EVO Mail Server files
cd d:\Mail // this folder must be created ahead of time
“c:\Program Files\WinRAR\winrar.exe” a –p(password) -av -r -ag+YYYY-MM-DD f:\mail_server_backup\-mail-server-backup_redirect.rar *.*
pause
- If EVOServ (Roundcube & ECM) is deployed, then also pack C:|EVOServ folder to a second batch file and name it as backupevoserv.bat by including the following lines:@echo
@ready to backup EVOServ files . . .
pause
c: // disk drive where EVOServ is located
cd c:\ // Confirm we are in root of C:
“c:\Program Files\WinRAR\winrar.exe” a –p(password) -av -r -ag+YYYY-MM-DD f:\mail_server_backup\-mail-server-backup_evoserv.rar c:\EVOServ\ pause - The resulting file name will be:
yyyy-mm-dd- mail-server-backup.rar
yyyy-mm-dd- mail-server-backup_redirect.rar
yyyy-mm-dd- mail-server-backup_evoserv.rar
The date of yyyy-mm-dd provides a clue about when you performed a backup a number of days back.
- To restore, use WinRAR to open the above rar file(s) and decompress them to your destination.