EVO staffs support via remote desktop
Under some circumstance, customers have issues that cannot be resolved. EVO support staffs are able to establish a remote desktop session to assist customers. Generally, there are 3 commonly used remote desktop options for customers to choose from:
-
Windows Desktop – A built-in Windows application: (The following steps use Windows 10 as an example.)
- Click START button.
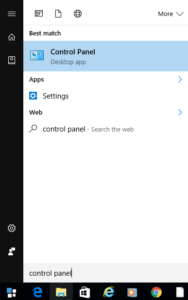
- Type Control Panel shown as above and click it to open.
- Click on System and Security and then System.

- Click on Remote settings.
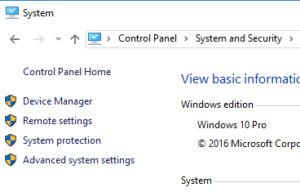
- In Remot Desktop section, click on Allow remote connection to this computer radial.
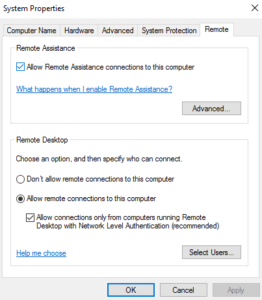
- Click on Select User… to add an account for others to log in remotely.
- Then, give the assigned user account, password and <public IP>:port or <computer host name>:port to whoever that will be logging in. The port number is 3389 by default unless otherwise specified. Note: if NAT exists, then make sure port forwarding or virtual server should map Internet Port Range to Local Port (3389) of computer host’s internal IP. The following screenshot is an example: (where Port Range is often assigned to other port number other than 3389 for security reason)

- Click START button.
-
Teamviewer – A small but powerful remote desktop application.
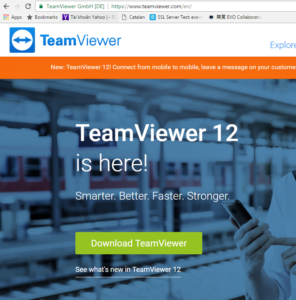
- Download Teamviewer first.
- Run installation executable.
- Start Teamviewer.
- To the left in the program, you will be assigned a Teamviewer ID and password.
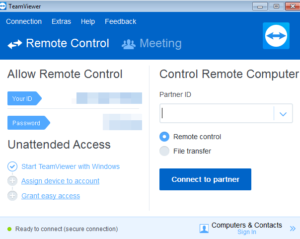
- Give the ID and password to whoever that will be logging in.
- Download Teamviewer first.
-
VNC – Virtual Network Computing. There are several versions under GPL.
- Download UltraVNC.
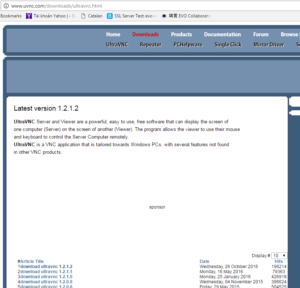
- Install UltraVNC Server mode on server PC.
- Install UltraVNC Viewer mode on viewer PC.
- On server PC, if Windows Firewall and/or NAT exist, open port 5900 or your assigned port (5900+n) within Admin Properties.
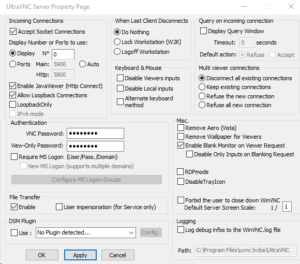
- On viewer PC, run UltraVNC Viewer.
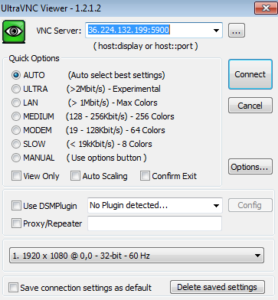
- Enter server PC’s public IP or computer host name + port number, such as IP:5900 or host.youdomain.com:5900 and click on Connect.
- Download UltraVNC.
